Do you need a DIY jewelry box organizer to keep all your favorite jewelry pieces in one place? We have a few designs and ideas you can try without the need to spend more, and most importantly, you can try them all in the comfort of your home.
Our DIY jewelry box ideas feature materials you can find or recycle at home, though you may still need to buy other necessary tools or materials to finish the project. But depending on your creativity, you can adjust to the following designs we are about to share.
If you prefer DIY projects rather than buying a jewelry box here are five DIY jewelry box ideas you can try at home without further ado.
Cardboard DIY Jewelry Box
DIY jewelry box cardboard is the most common material you can use for jewelry boxes. Cardboards are easy to find and cheap but offer you a variety of ways on how you want your jewelry box to look.
Since it is the most flexible crafting material you can use, you can unleash your creativity and create the most personalized jewelry box.
Here’s how you can do it.
Materials needed:
- Cardboard
- Pencil
- Ruler
- Cutting tool (knife or cutter)
- Scissors
- Fabric
- Yarn
- Glue gun and a glue stick or white glue
- Crafting decorations (optional)
Procedure:
Step 1: Cut out cardboard pieces
Cut out six cardboard pieces into squares. Make sure that one of the cardboards has five foldable square-shaped parts formed in a cross. It will serve as the body of the jewelry box. Create another one in a similar form but with a rectangle foldable for the lid. Ensure the remaining four cardboards have smaller measurements to fit inside the box as they will serve as inner layers.
Step 2: Fold the cardboard.
Work on the foldable cardboards to form the body and the jewelry box's lid.
Step 3: Cover the box and lid with fabric

Cover your jewelry box with your chosen fabric to make it look presentable. Ensure you flatten out the fabric to make it look neat.
Step 4: Add inner layers
The remaining four cardboards are for inner layers. Stick them inside the box. You may also try to cover them if you like.
Step 5: Add a border on the lid
With a glue stick or white glue, apply it along the sides of the lid. Before it gets dry, stick the yarn.
Step 6: Decorate the jewelry box
Apply any decoration you want using the yarn or any other crafting materials to suit your style.
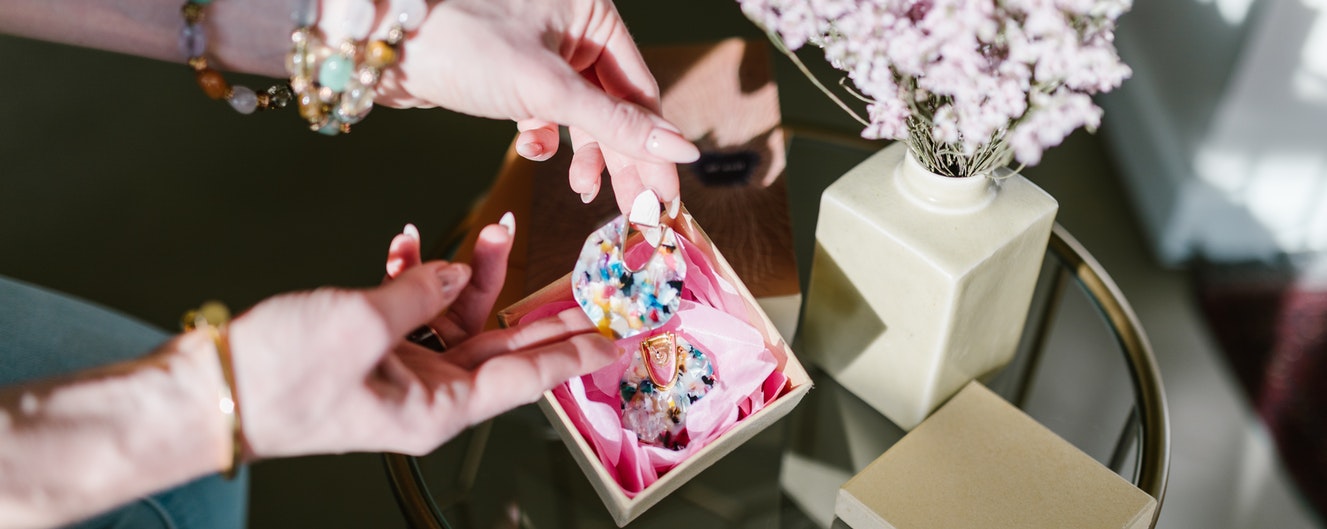
Marbled DIY Jewelry Box
The marbled jewelry box is one of the best examples of a DIY jewelry box design made from recycled materials. You need a cigar box, and a few recycled materials you can use as decorations and you are all set.
But how can you make an elegant-looking marbled jewelry box from an old cigar box? You can follow the simple guide below. Here's how you can do it.
Materials needed:
- Cigar box
- Marbled paper
- 2 pieces .25 x 9.5 x 3 inches craft wood
- Two paintbrushes (small and medium)
- White high-gloss paint
- Fine sandpaper
- Spackle or wood putty
- Nine foam cylinders
- 9 x 3 inches piece of leather
- Mod Podge
- Glue gun
- Ruler
- Cutting tools (knife or cutter)
- Brass thumbtack
- Decorative materials
Procedure:
Step 1: Clean the cigar box
Using a damp rag, clean the cigar box to remove any dirt and grime. Once cleaned, fill the holes with the spackle or wood putty. Then, wait for it to dry.
Step 2: Paint the craft wood and the box

While waiting for the spackle to dry on the cigar box, start painting the craft wood with white paint. Then, both the inside and outside parts of the box are the same color. Let them dry.
Step 3: Create little marshmallow-like objects
Get the nine foam cylinders and group them by three. Stick each of them using a glue gun. You will see that you have created marshmallow-like materials.
Step 4: Cover the foam cylinders with a leather
Using a ruler, measure ¾ inches of the piece of leather you have and cut it with a small knife or cutter. Set it aside and slice the remaining amount of leather into three equal strips. Then, wrap the leather strips to each of the snowmen-like foam cylinders.
Step 5: Measure the marbled paper and apply the Mod Podge
Get the marbled paper and take measurements that will suit the size of the cigar box. You can make allowances to ensure it will reach the sides of the box. After that, cut the paper. Get your Mod Podge bottle and follow the instructions on decorating it on the surface of the marbled paper. After applying, wait for it to dry.
Step 6: Create dividers and design the interior of the box
Gather the three leather foams and decide which part of the box you will place them in. You also need to make some dividers covered with marbled paper as well. Depending on the variety of jewelry you own, you can decide how many divisions you can make inside the box.
Step 7: Make the lid.
Now, it’s time to do the lid so you can open the box easily. Get an extra leather strip and a brass thumbtack. Fold the leather in half and secure the end with glue. Get the thumbtack and push it on the center. After that, stick it on the box and test if you can open it without the lid detaching.
Step 8: Add decorations as much as you want

Lastly, you can add more decorations as much as you want to make your jewelry box look more admirable. If you are all set, you can start placing your jewelry inside.
We hope these unique DIY jewelry box ideas will help to store and protect your jewelry. But what about your spectacles and other eyewear items? Get our spectacle storage boxes to organize and safeguard several pairs of your eyewear and other accessories in one location.
FAQs
1. What can I use as a jewelry box?
There are a lot of materials you can use as a jewelry box. If you take the time to check available items at your home, you can find an ideal box or storage that you can use as a DIY jewelry gift box without needing a new one.
Some common materials you can use are cardboard, wood, cigar box, or refurbish your old jewelry chest box organizer. The best part of creating DIY projects such as a jewelry box is its uniqueness. With the available decorative materials you have, you can design your chest as much as you want, and you will not find any jewelry box in the market that will look the same as yours.
2. How can I make a cheap jewelry organizer?
If you want to make a DIY jewelry box for earrings or a DIY jewelry box for necklaces, you can do it by recycling available materials, tools, and decorative items you have at home. It may be cheap, but you can ensure that it is good-quality since you do it yourself, and you do not need to spend on more expensive jewelry organizers you can find in the market. As you can see, it is both economical and environmentally friendly.
3. How do you make a secret compartment jewelry box?
If you want to make a jewelry box with drawers or a secret compartment, you can do it by following a couple of things.
First, build the usual jewelry box with drawers. Then cut the drawer from the solid block to make a latching mechanism.
Next, leave a solid area either on the left or the right side of the drawer. Do not forget to flatten the space to fit it under the case. You can work out an essential mechanism on how you want to open and close the secret compartment.
Now, you have a safe place to store your most valuable piece of jewelry.
4. How big should a jewelry box be?
The dimension of a jewelry box is a crucial aspect to note, especially if you want to make a DIY jewelry box. There is no standard measurement of the size of a jewelry box. Depending on how many jewelry items you want to store inside, the measure will matter. You can also leave adjustments or extra spaces if you plan to add more to your jewelry collection. If you need a guide, you can base your measurements on the available jewelry boxes in the market.
5. How deep does a jewelry drawer need to be?
There is also no standard measurement on the depth of the drawers or compartments you can follow to make a DIY jewelry box. However, some manufacturers follow standard widths such as 18, 24, and 30 inches, and they have at least 14 inches in depth. You can follow similar dimensions to build your DIY jewelry box at home.